A spa facial at home follows nine steps. Cleanse then steam then exfoliate. Massage your face and apply a mask. Finish with toner and serum and moisturiser and sunscreen. The whole routine takes about 30 minutes.
You do not need a spa booking to give your skin a proper reset. A spa facial at home uses the same order of steps a therapist follows. The difference is the products and the pace.
This guide walks you through all nine steps. It also covers skin types and safety and how often to do it.
What You Need for a Spa Facial at Home
Gather everything first. Stopping halfway to hunt for a towel ruins the calm part.
- A gentle cleanser made for your skin type
- A mild scrub or a chemical exfoliant such as lactic acid
- A bowl of hot water and a large towel for steaming
- A face mask that matches your skin concern
- A toner or rose water spray
- A serum and a moisturiser
- Broad spectrum sunscreen for the morning after
- Two clean towels and a headband
You do not need expensive tools. A clean pair of hands works for the massage step.
Know Your Skin Type First
The same routine will not suit every face. Pick your products using the table below.
| Skin type | How it feels | Best mask | Exfoliate how often |
|---|---|---|---|
| Oily | Shiny by midday with visible pores | Clay or charcoal | Twice a week |
| Dry | Tight or flaky after washing | Cream or honey | Once a week |
| Combination | Oily nose and forehead with dry cheeks | Clay on the T zone only | Once or twice a week |
| Sensitive | Reddens easily and stings with new products | Oat or aloe | Once every two weeks |
| Normal | Comfortable most days | Hydrating sheet mask | Once a week |
Patch test any new product on your jawline first. Wait 24 hours before using it on your whole face.
Prep Steps: Set Up and Cleanse and Steam
Step 1. Set Up Your Space
Tie your hair back and put your phone away. Dim the lights and play something slow. Lay your products out in the order you will use them.
Pick a night rather than a morning. Skin repairs itself while you sleep so the products work harder.
Step 2. Cleanse Twice
Remove makeup and sunscreen with a cleansing oil or micellar water first. Then wash with a gentle cleanser and lukewarm water. Massage it in for about 60 seconds using small circles.
Skip very hot water. It strips your skin barrier and leaves your face tight.
Step 3. Steam for Five Minutes
Fill a bowl with hot water and lean over it. Keep your face at least six inches away. Drape a towel over your head and stay there for five minutes.
Steam softens buildup and makes the next steps work better. Skip this step if you have rosacea or skin that flushes easily.
Treatment Steps: Exfoliate and Massage and Mask
Step 4. Exfoliate Gently
Apply a mild scrub to damp skin and work in light circles for 30 seconds. Avoid the eye area completely. Rinse well and pat dry.
A chemical exfoliant is kinder than a gritty scrub for most people. Never exfoliate more than twice in one week.
Step 5. Massage Your Face
Use a few drops of facial oil so your fingers glide. Start at the centre of your face and sweep outward. Work upward along the jaw and cheeks for two minutes.
This step boosts circulation and helps drain puffiness. A small roller or gua sha tool works too but is not essential.
Step 6. Apply a Mask
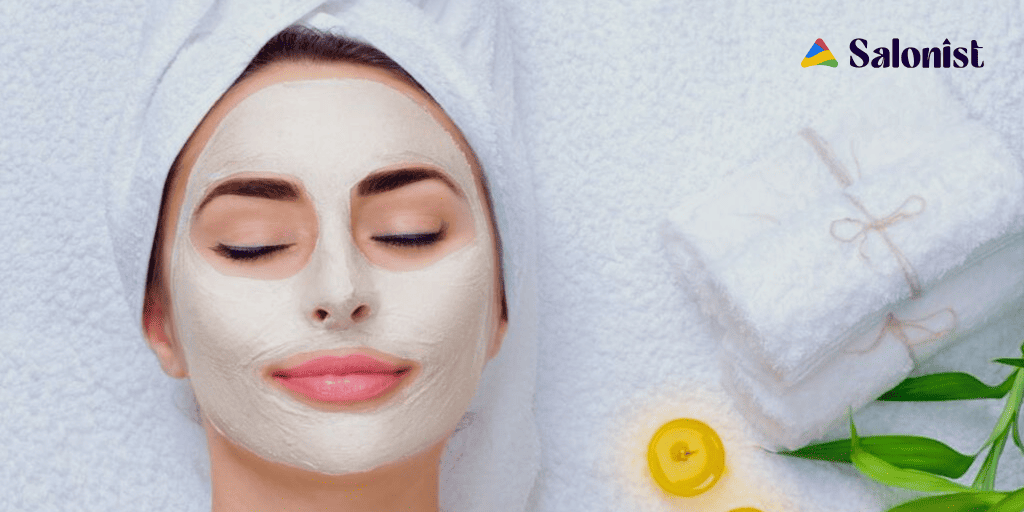
Spread your mask over clean skin and avoid the eyes and lips. Leave it on for the time listed on the packet. Most masks need 10 to 15 minutes.
Rinse with lukewarm water and pat dry with a clean towel. Do not scrub the mask off.
Finishing Steps: Tone and Treat and Moisturise
Step 7. Tone
Sweep a toner or rose water over your face with a cotton pad. This settles your skin after the mask. Choose an alcohol free formula so your face does not dry out.
Step 8. Apply Serum and Eye Cream
Press a hydrating serum into damp skin. Hyaluronic acid suits nearly every skin type. Then tap a small amount of eye cream around the eye socket with your ring finger.
Step 9. Moisturise and Protect
Seal everything in with a moisturiser suited to your skin type. This is the step most people rush and it matters most.
Apply broad spectrum sunscreen the next morning. Freshly exfoliated skin burns faster than usual.
How Often Should You Do a Facial at Home?
Once every one or two weeks is enough for most people. Sensitive skin does better with once a month.
More is not better here. Doing facials too often damages your skin barrier and causes redness. Watch how your skin responds and space them out if it feels irritated.
Mistakes to Avoid With At Home Facials
- Squeezing blackheads. Home extractions scar and spread bacteria. Leave these to a trained therapist.
- Skipping the patch test. One bad reaction can set your skin back for weeks.
- Using a scrub every day. Daily scrubbing strips the barrier and causes more oil.
- Steaming for too long. Five minutes is plenty. Longer sessions dehydrate your skin.
- Layering too many actives. Retinol and acids together on facial night is a common mistake.
- Forgetting sunscreen. Exfoliated skin needs protection the next day.
When to See a Professional Instead
An at home routine handles dullness and dryness well. Some things need trained hands and stronger tools.
Book a professional facial or see a dermatologist if you have:
- Persistent acne or cystic breakouts
- Rosacea or eczema on your face
- Deep congestion that needs proper extractions
- Dark patches or scarring you want treated
- A reaction that does not settle within a few days
A therapist can also read your skin properly and build a plan. Think of home facials as upkeep between professional visits. Most spas and skin clinics let you book a consultation first.
A Note for Spa Owners
At home routines are not your competition. They are proof that people care about their skin.
Clients who do facials at home book professional treatments more often. Show them what you can do that a bowl of hot water cannot. Regular reminders and easy booking do the rest.
- Give clients a simple home care card after every facial
- Use an online booking system so they can rebook in seconds
- Keep skin notes in one place with client management
- Follow up six weeks later using automated campaigns
- Run the whole thing on proper spa software rather than a paper diary
Frequently Asked Questions
How long does a spa facial at home take?
Plan for about 30 minutes. Rushing the mask or the massage step wastes most of the benefit.
Can I do a facial at home if I have sensitive skin?
Yes but keep it gentle. Skip the steam and use an oat or aloe mask. Exfoliate only once every two weeks.
Is steaming necessary for an at home facial?
No. Steaming helps soften buildup but it is optional. A warm damp cloth on the face works as a milder swap.
Should I do a facial in the morning or at night?
Night works better. Your skin repairs itself while you sleep and you avoid sun exposure straight after exfoliating.
Can an at home facial replace a professional one?
Not fully. Home facials keep skin clear between visits. Trained therapists use stronger products and safe extraction methods.
What order should the steps go in?
Cleanse then steam then exfoliate then massage then mask. Finish with toner and serum and moisturiser.
Final Thoughts
A spa facial at home is simple once you know the order. Keep the products gentle and stick to the steps.
Do it every week or two and your skin will show it. Then book a professional when your skin needs more than upkeep.
This article is general skincare information only. It is not medical advice. Speak to a dermatologist about any ongoing skin condition.